Making a small wooden Cremation Urn
I was commissioned to make a small wooden cremation urn, and because of the nature of this project I really wanted to use a beautiful piece of timer. After looking through my available boards I found a piece of Jarrah which I thought would look quite elegant as an urn. I took the board to my thicknesser and cleaned it up and went on to measure and mark what will become the sides of the cremation urn. I wanted the grain to flow all around the box so I made sure to label everything as I go so not to mix things up at a later stage.
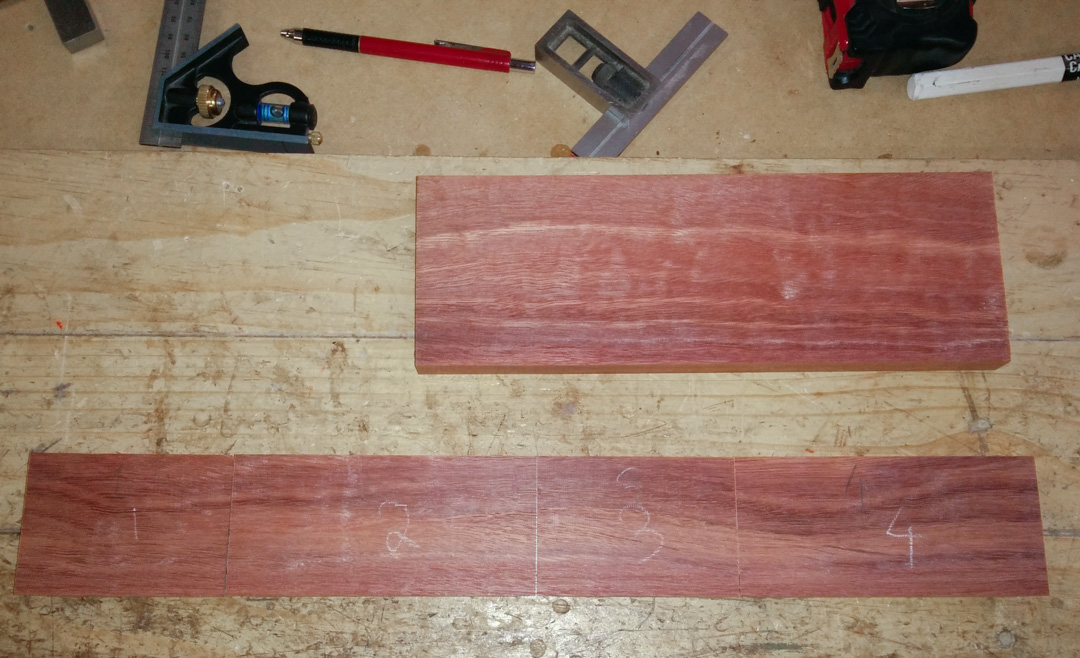
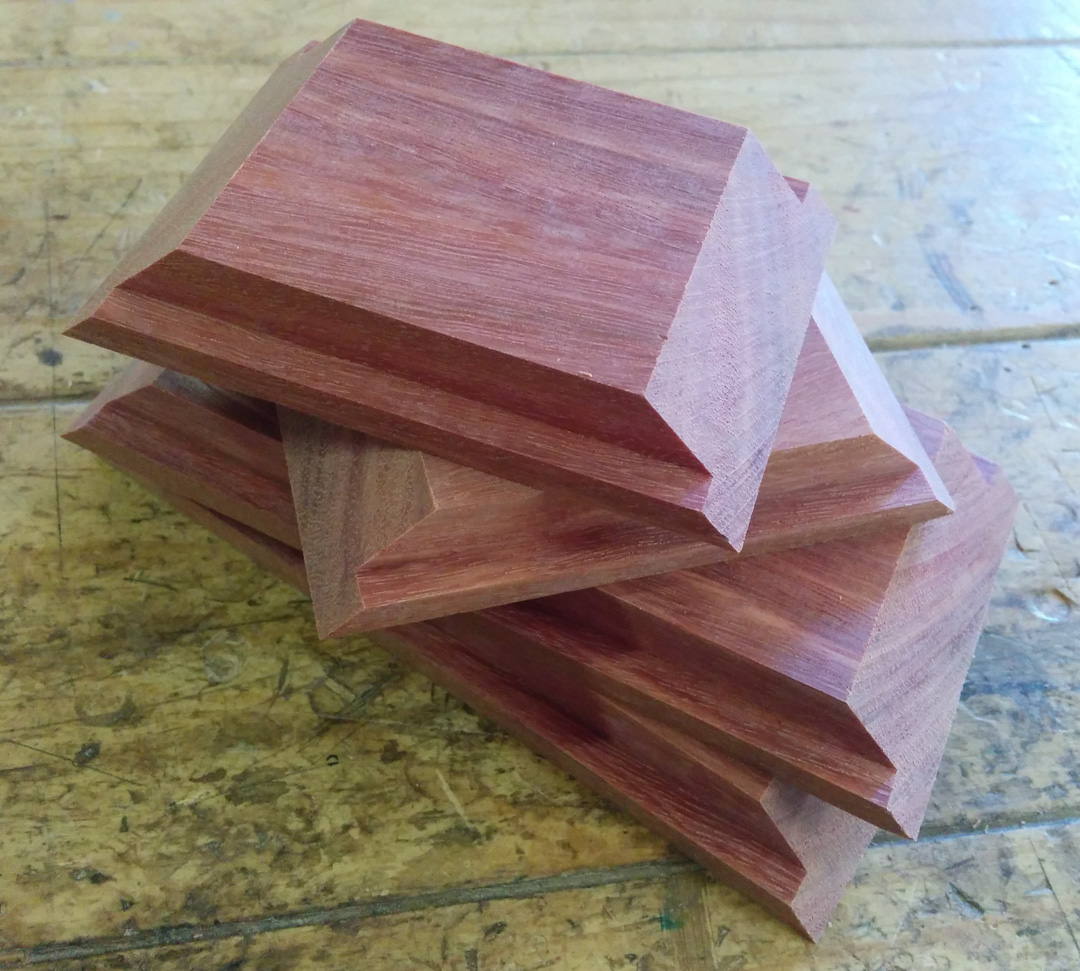
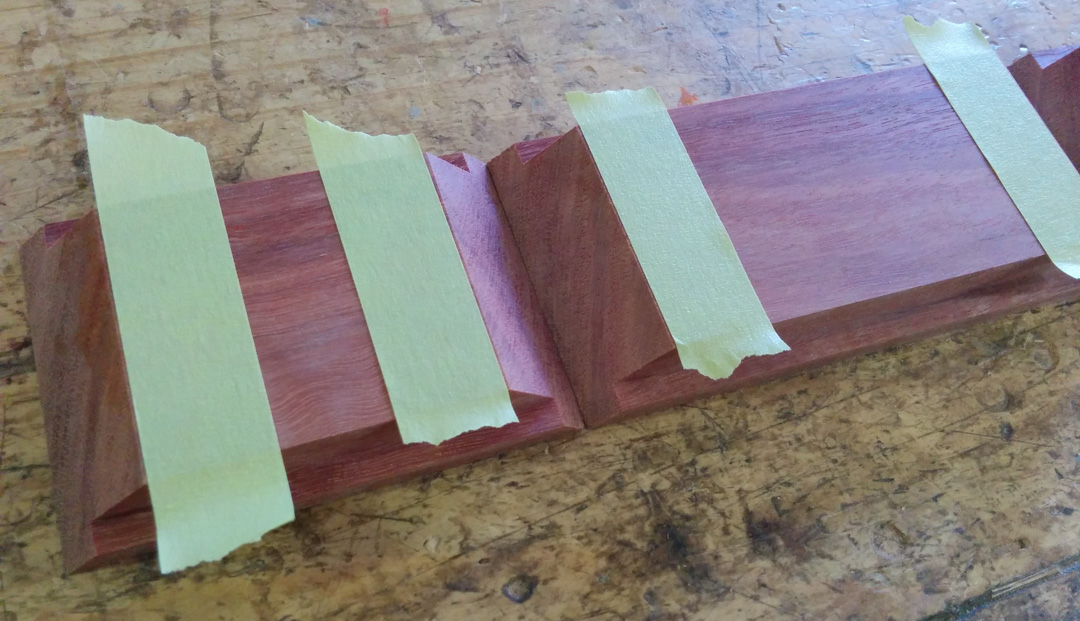
I cut rabbets along both edges of the board which later would accept the top and base of the urn, and then I cut the mitres making sure they were on the correct sides to keep the grain flowing around the box. I also made sure to sand the inside faces to 180 grit because they would be too difficult to get to once the box is glued up.
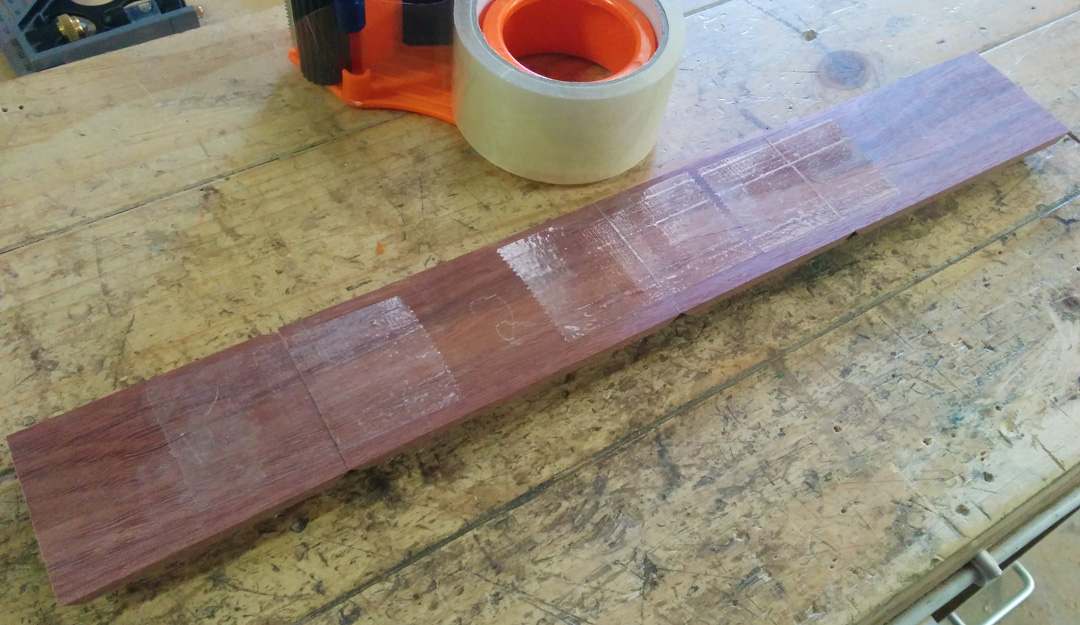
After a quick dry assembly I lined the box sides in a row making sure they were in the correct order, and then added tape to the edges to keep them from slipping during glue-up. I like to use clear packing tape instead of masking tape because I find it has a bit of elasticity to it and helps to pull the mitres tightly together when folding the box up.
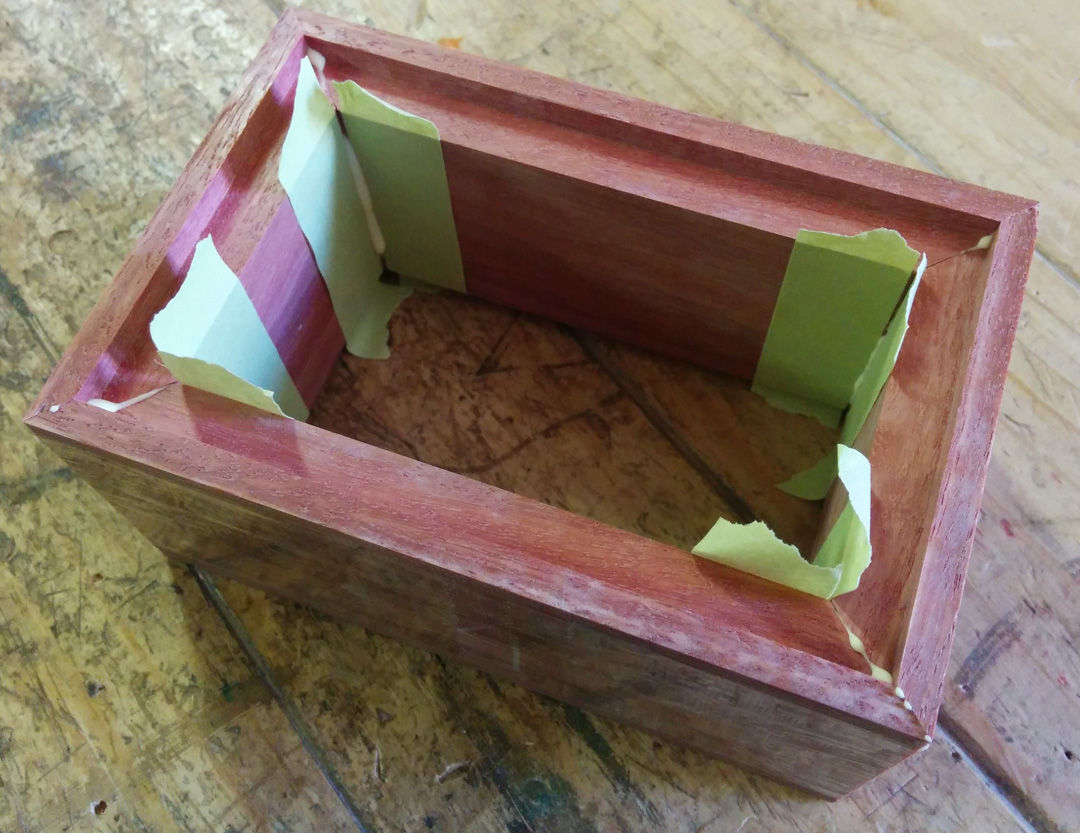
Next I flipped the whole thing over and masked the inside edges of the box sides so that any glue squeezeout would not stick to the inside walls and would be easily removed by peeling away the masking tape.
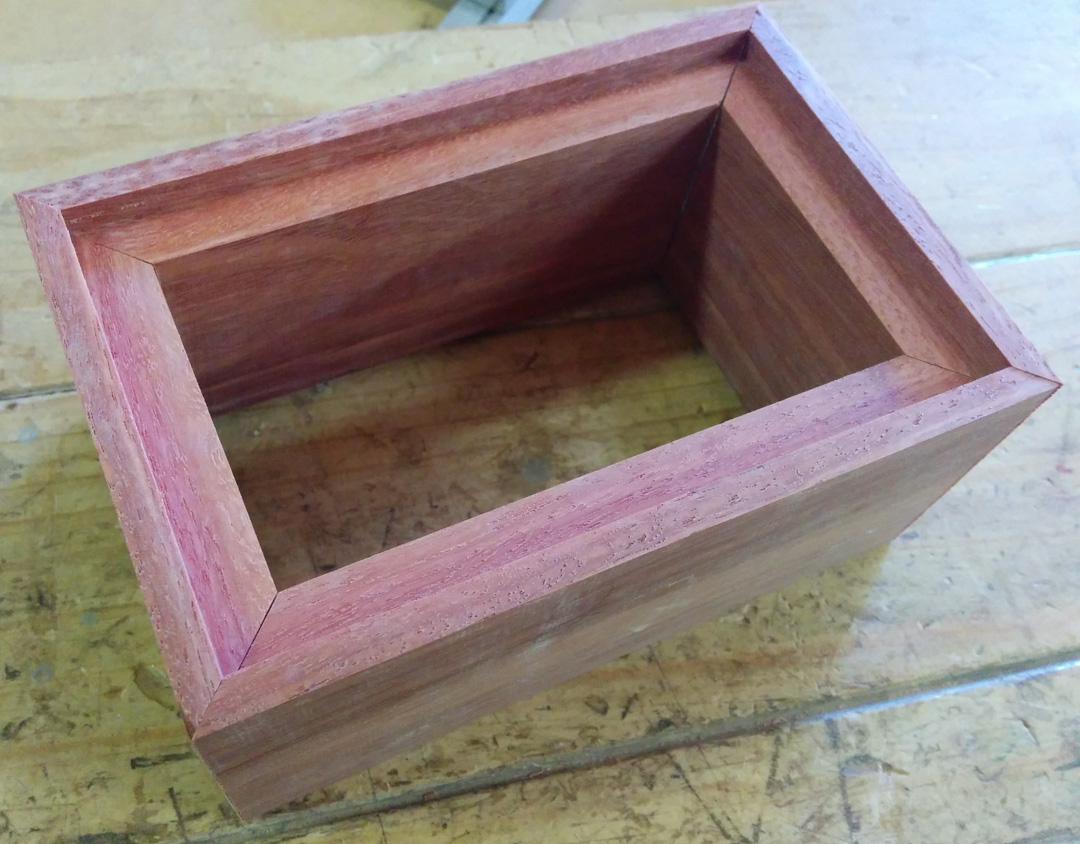
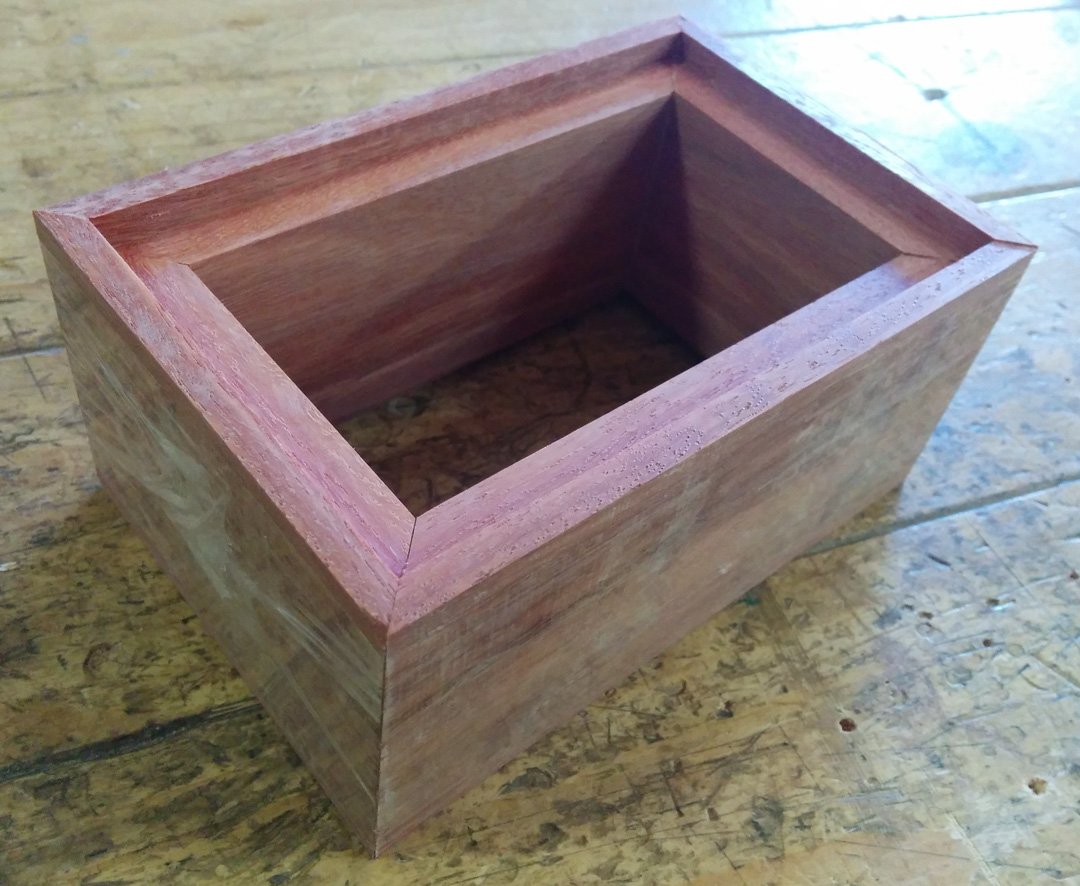
I then applied glue to all the mitred edges and folded the box up. I used more clear packing tape to tightly pull the box sides together and then I left it to dry for a few hours.
I find that the tape is plenty strong enough for holding boxes together until they dry. For small boxes with thin sides you can even get away with a few rubber bands but since this cremation urn had thicker sides I used tape as it applies more force than the rubber bands are able to. I went with such thick sides for this box because I figured since it’s so small it would feel too light in the hand, especially for a cremation urn. I figured an easy way to add a bit of heft to it would be to have really thick sides, and since it’s a closed box the thickness will never be visible and it would still look good. The thick sides also add to the strength of the piece.
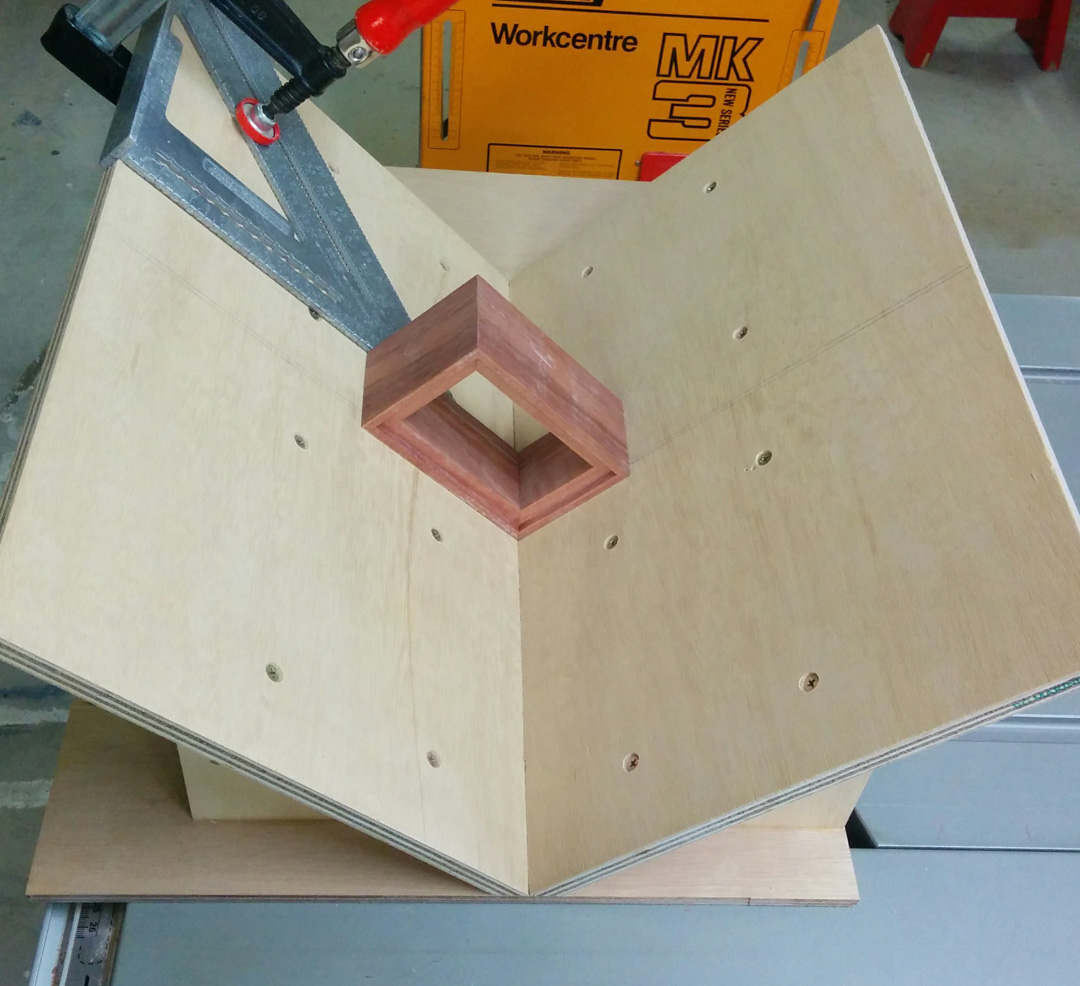
Once the glue dried I removed all the tape and cut three slots on each corner to accept the mitre keys. I set up my purpose built mitre key slot cutting jig on my table saw and used a speed square to align the box to where I wanted the cuts to be. The square acts as a stop which means I can cut the mitre key slots in the same place on every corner of the box without re-measuring. I also made sure to use a saw blade with a flat top grind so that the ends of the mitre key slots would be nice and straight.
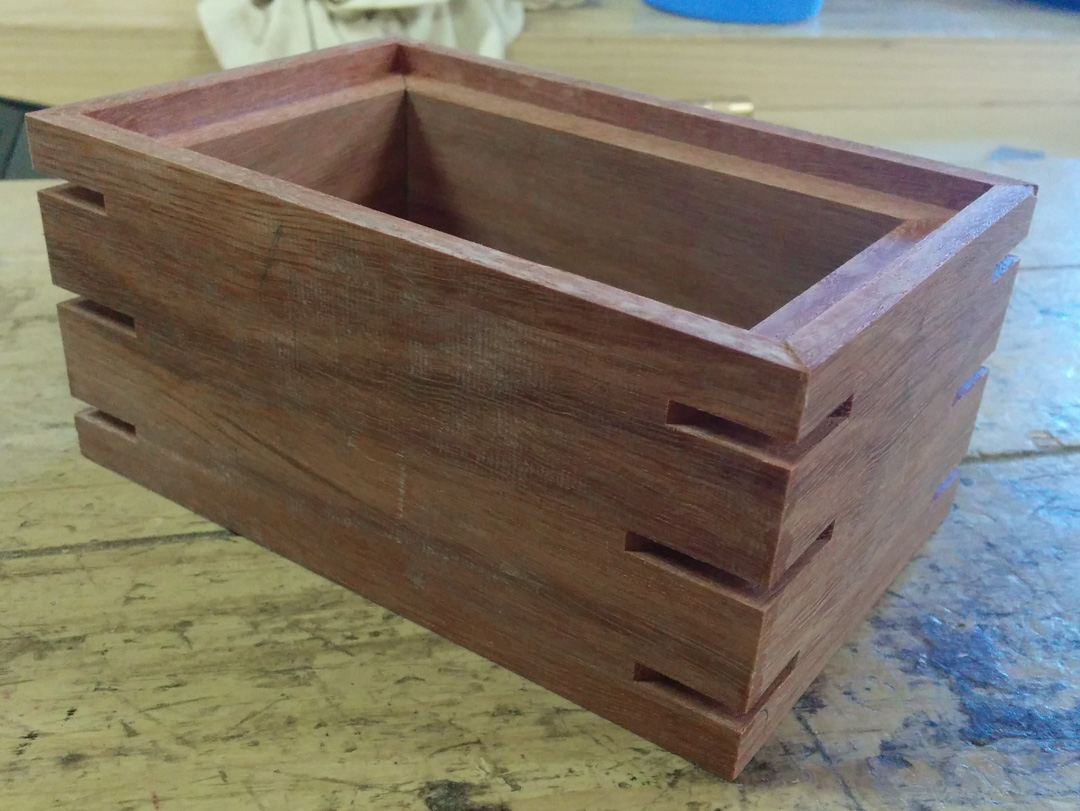
Next I cut some 3mm thick strips of wood from some blackbutt I had lying around. These strips would be used to make the mitre keys. I also made sure that the grain on these strips of wood was running nice and straight which is what you want for strong mitre keys.
These keys are not just decorative, but they are also essential in creating a strong long-grain to long-grain glue bond between the mitred sides of the box. The mitred sides are effectively end-grain joints and end-grain doesn’t glue too well because of the nature of the wood pores, so you must reinforce these joints with either splines of some sort, like a biscuit for example, or mitre keys as I did here.
I also think the mitre keys look quite good especially when they have a contrasting colour like the blackbutt and jarrah do.
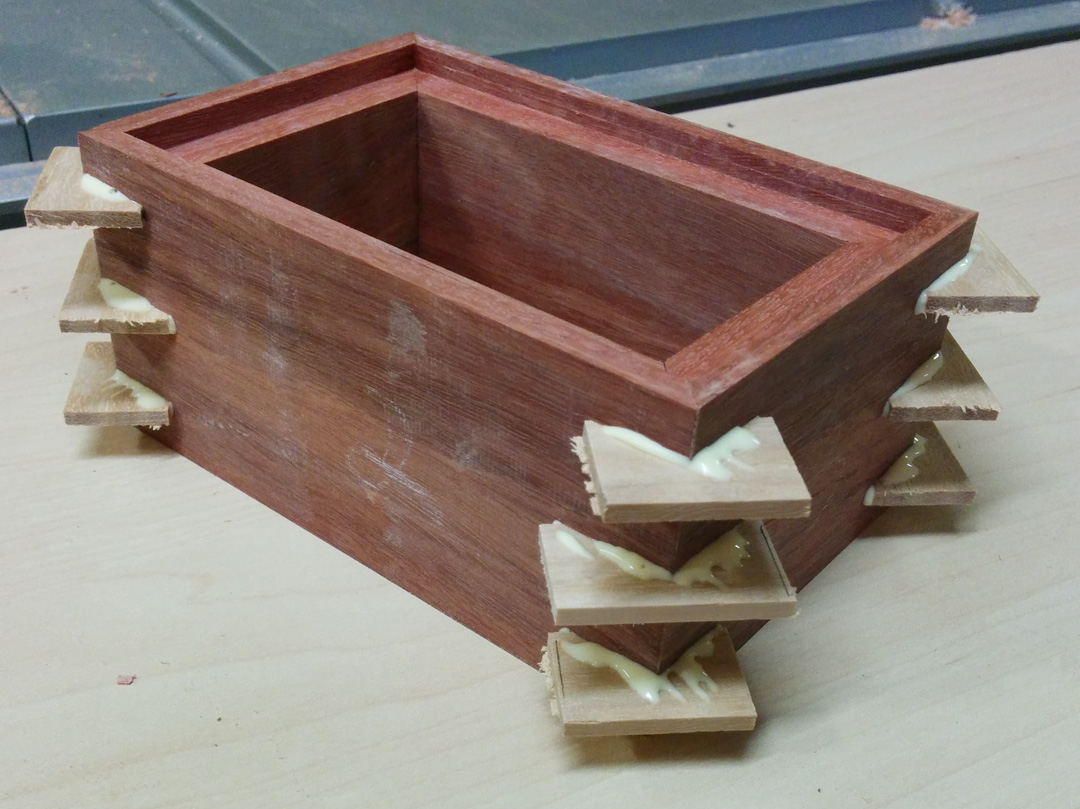
Next I cut the blackbutt strips into a bunch of small pieces and glued them into the slots making sure to press them in all the way. You have to be quick when inserting the keys because once you get glue on them they start to suck up moisture from in the glue which in turn causes them to swell up slightly, and if you wait too long it can become difficult to press them in.
Once the keys were all glued in I left everything to dry overnight so that the glue squeezeout will have enough time to fully cure and won’t gum up my tools when flush cutting the keys to the box sides.
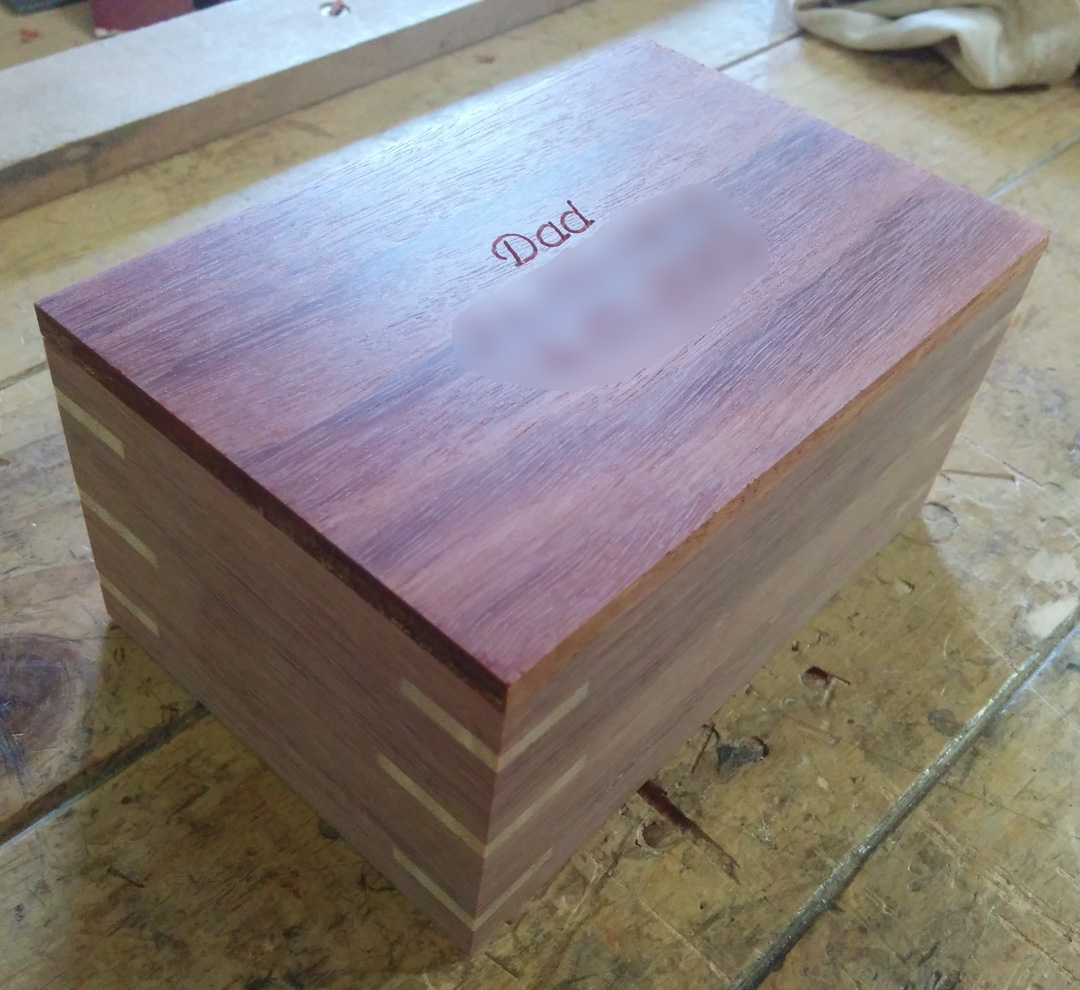
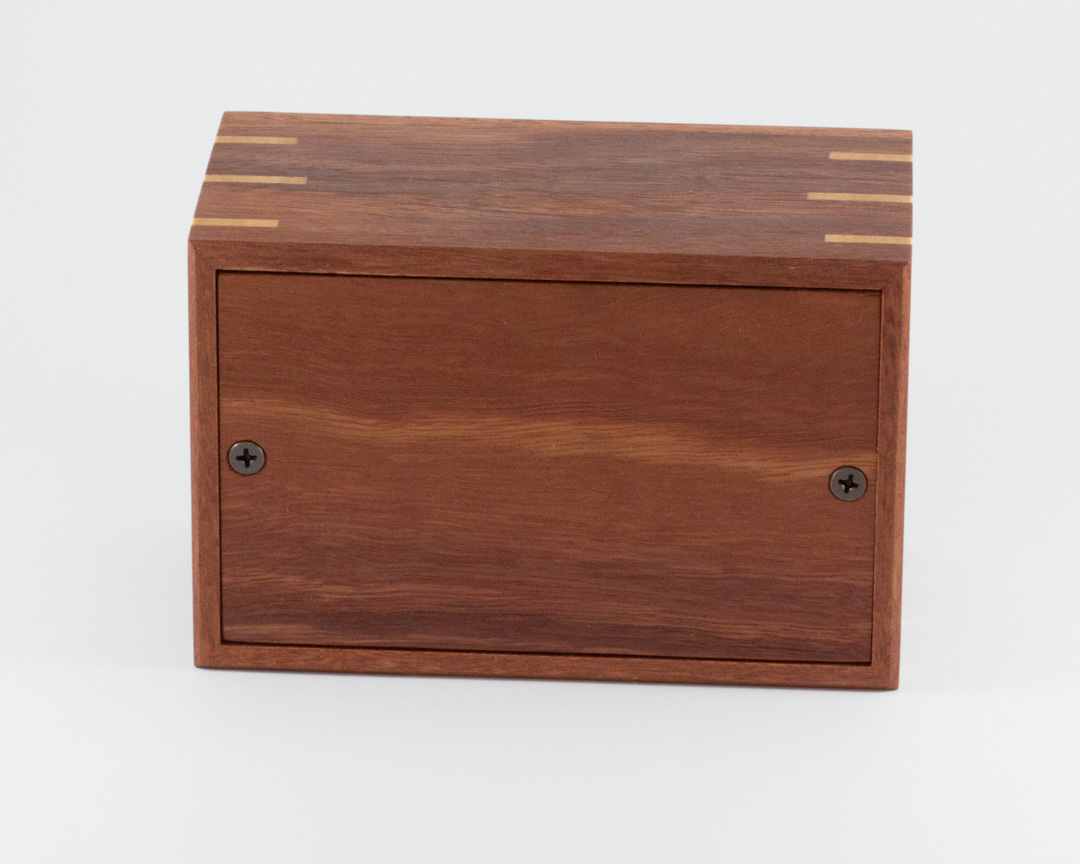
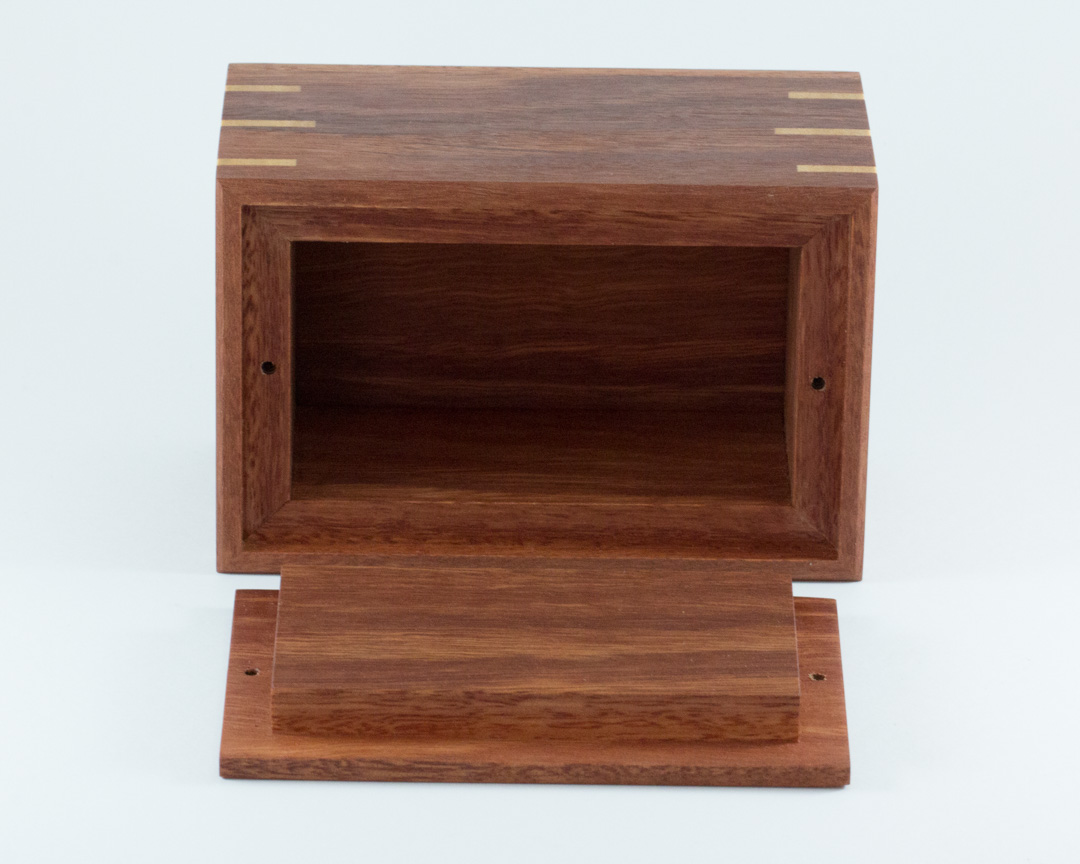
The next day I cut the mitre keys flush and gave the box a good sanding to clean it up. I then made a base for the cremation urn which will be where it is opened from to insert the ashes.

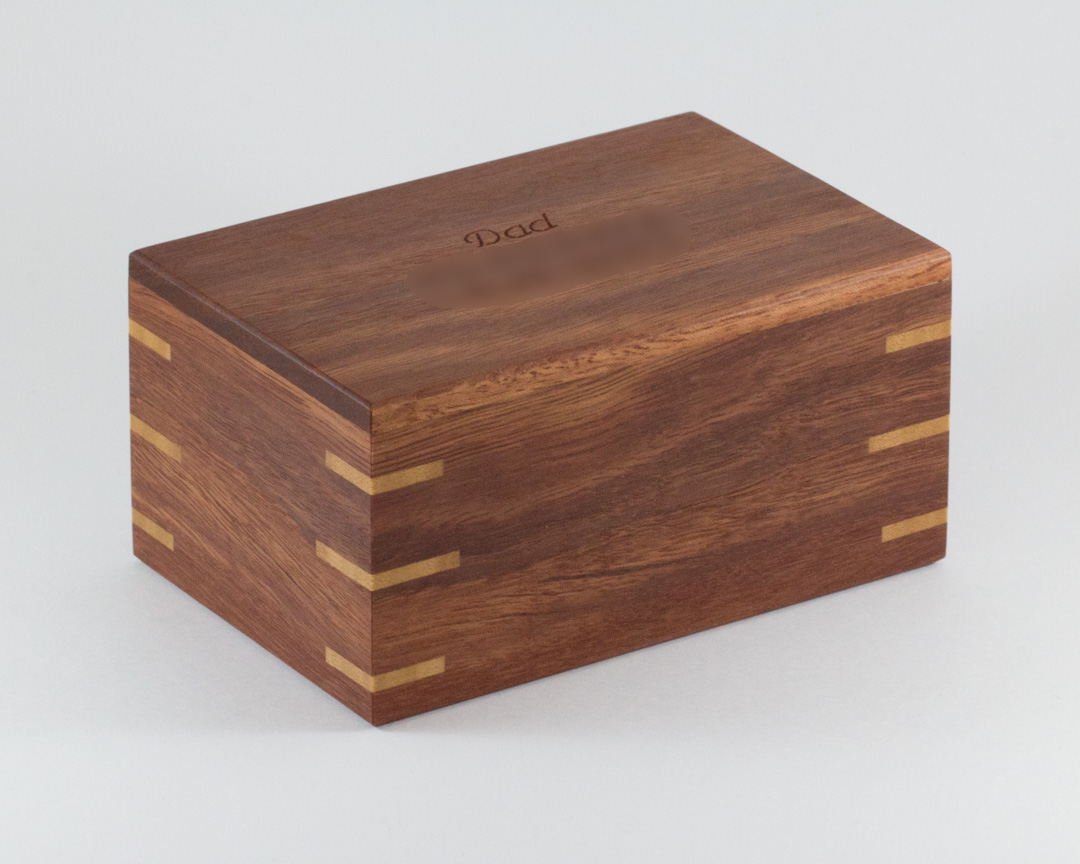
I also made the top from the same piece of jarrah and glued it on permanently. Since the box is so small I wasn’t too worried about the lid expanding and cracking because it was glued. I then engraved the lid as requested by the client and after a final sanding to 240 grit I applied a few coats of Danish oil as a finish.
Overall I think this cremation urn turned out pretty good, but then again I might be slightly biased. The client was also pleased with it and that’s what really matters here.


We’ll done
This is a well-written, sensible tutorial. Your advice and techniques are helpful to minimize down-the-road headaches.
How did you determine interior size? I spread some of my bride’s cremains in her favorite areas of the world, and I gave some mini-urns to her family. I have about 18 ounces left.
Thank you for your time. I plan to follow your instructions, except maybe to make dark-contrasted miter keys for a more solemn feeling.
Hey Dave, the size was specified by the client for this small urn. With my larger urns I make sure they can fit a standard plastic ashes container provided by most crematoriums which measures about 255mm x 148mm x 115mm here in Australia.
Great how-to! Nice inspiration for the urn I am planning to make for the remains of my beloved. Those corner joints inspired me to use dowels for my design 🙂. I too am using materials I have on hand as she would have wanted ❤️