Making two wooden Keepsake Boxes
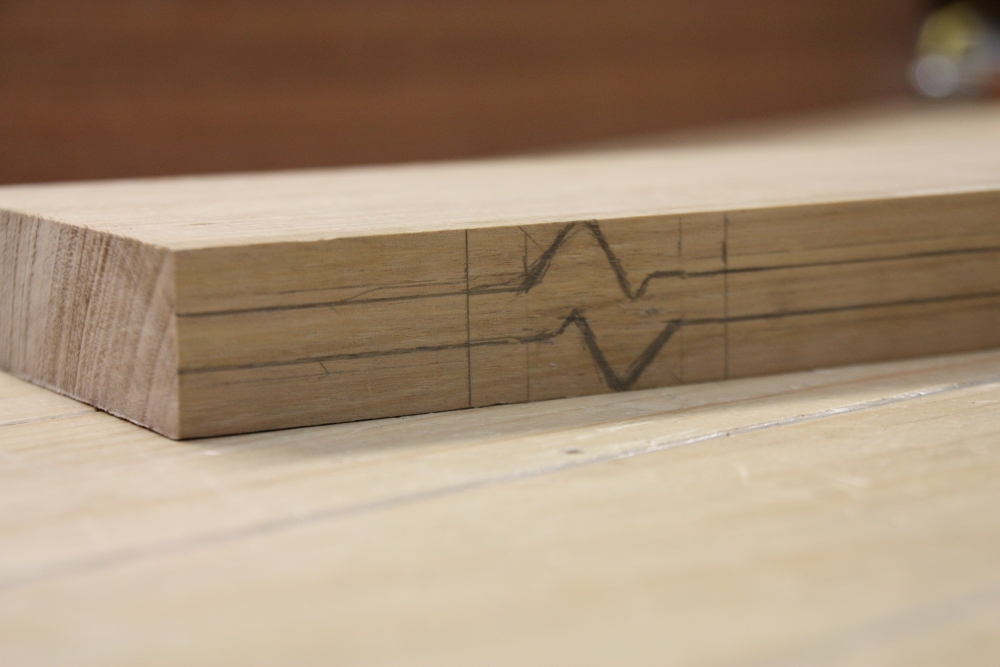
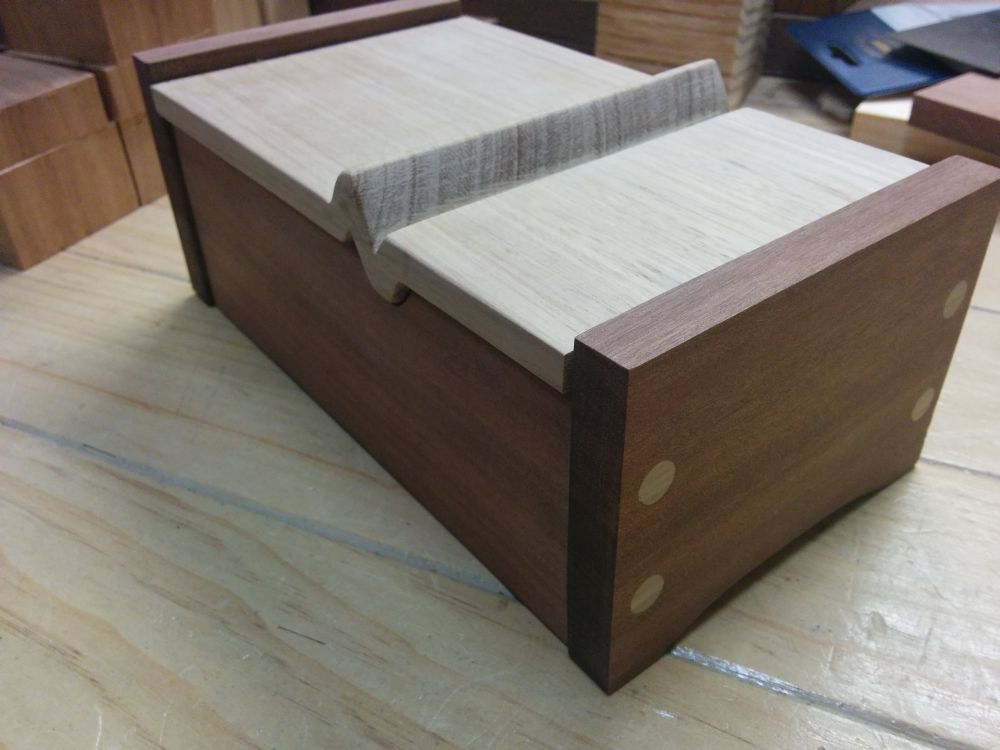
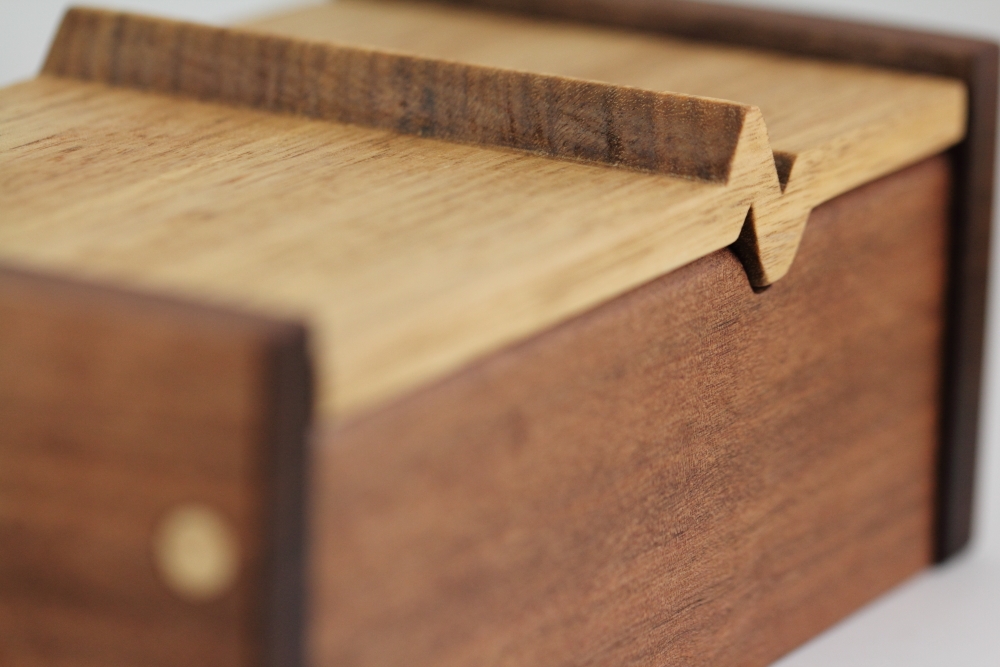
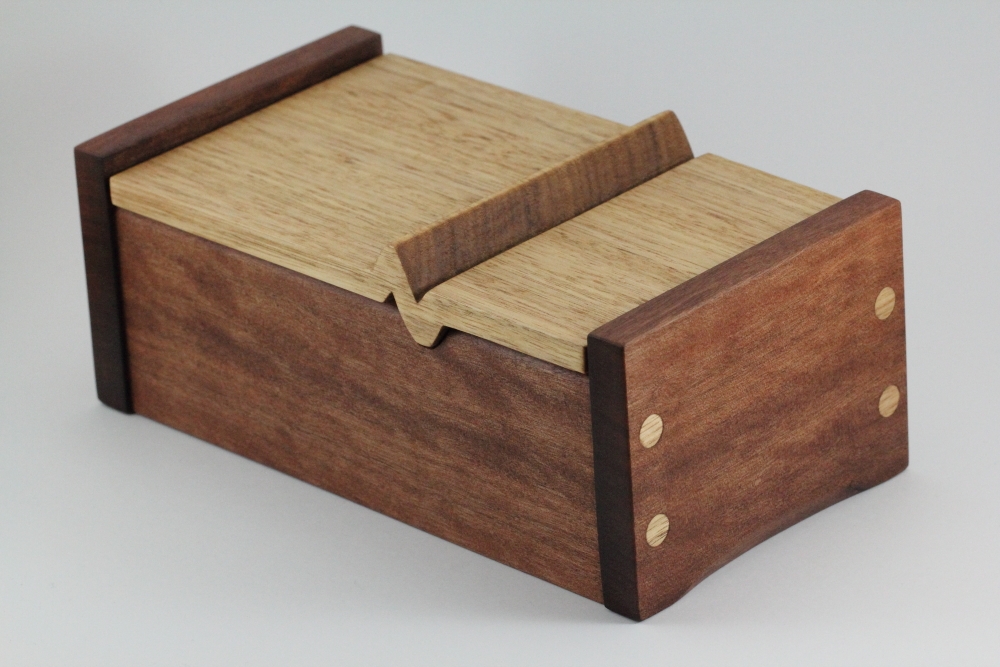
My wife asked me to make a wooden keepsake box as a gift for a friend of hers. She wanted a box that looks like Box No. 1177 by Peter Lloyd because of the heartbeat design in the lid. So I came up with a design that looks similar to his but smaller and with a slightly different lid and different construction materials. Since I had to machine some rough lumber for the box, I decided to machine extra pieces and make two boxes instead, with different styles, one as a gift and the other one to sell.

The First of the wooden Keepsake Boxes
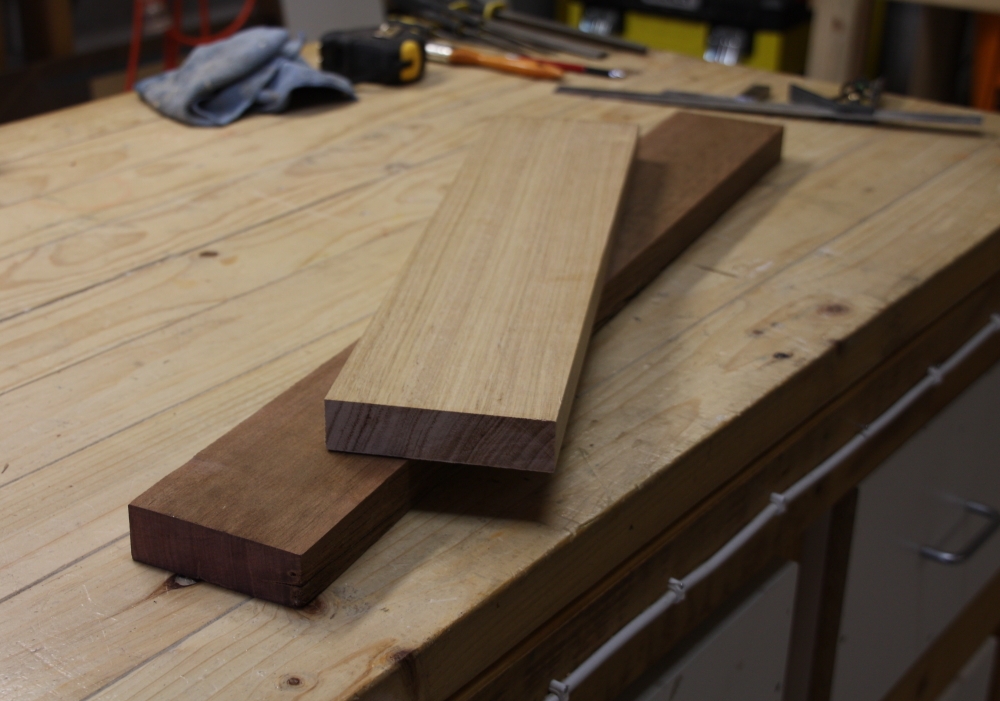
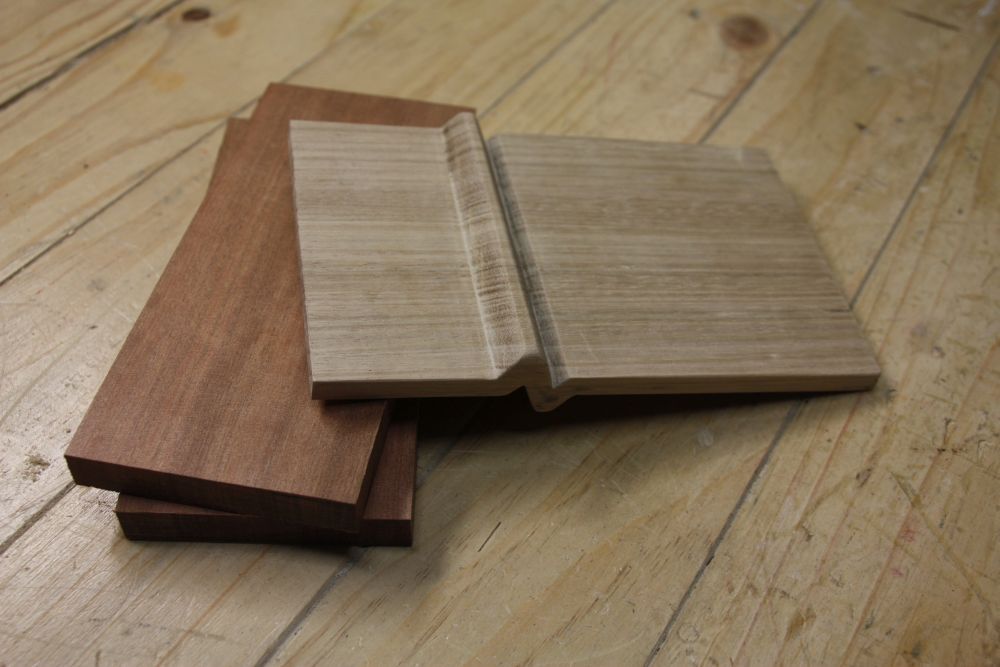
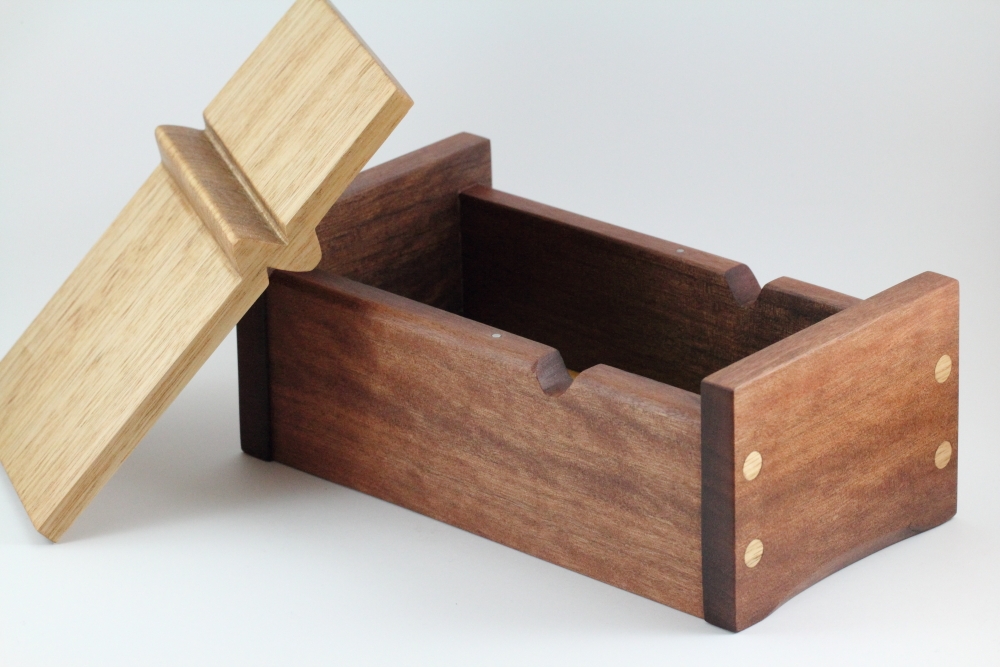
For the first keepsake box I started out with a nice piece of Mountain Ash which will later become the lid, and a piece of reclaimed Red Ironbark which will be re-sawn and planned to thickness and used for the box carcass.
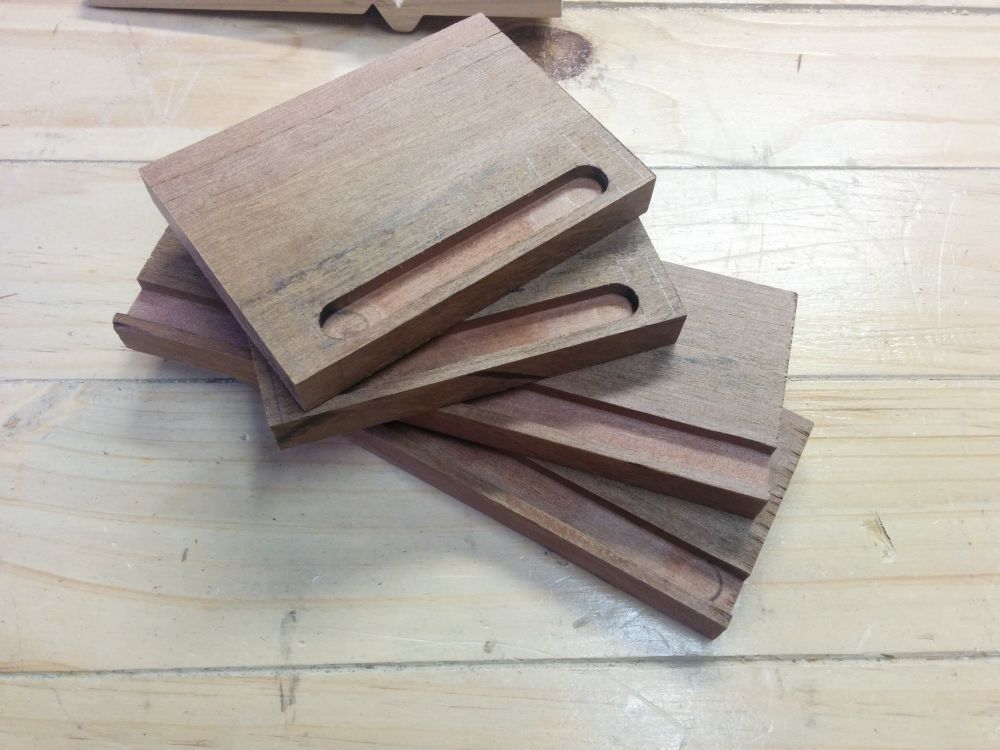
The best way to make the lid would be to cut it using a decent bandsaw where the blade doesn’t wonder. Unfortunately I have a cheap bandsaw which is nowhere near reliable enough to make such a cut, so instead I hogged the extra material out on the table saw initially and then cleaned it up on the router table.
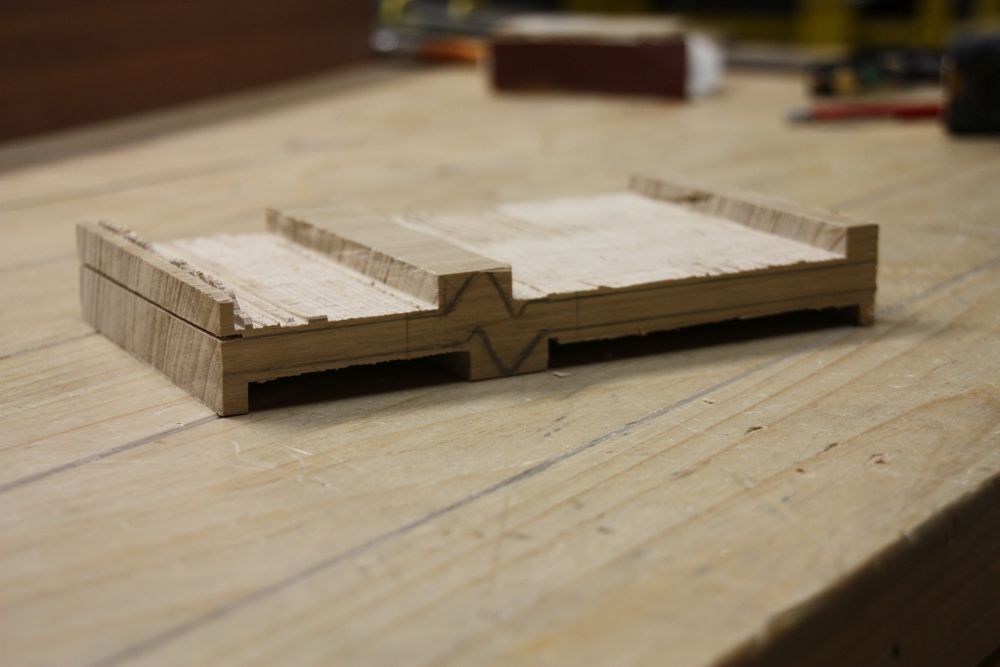
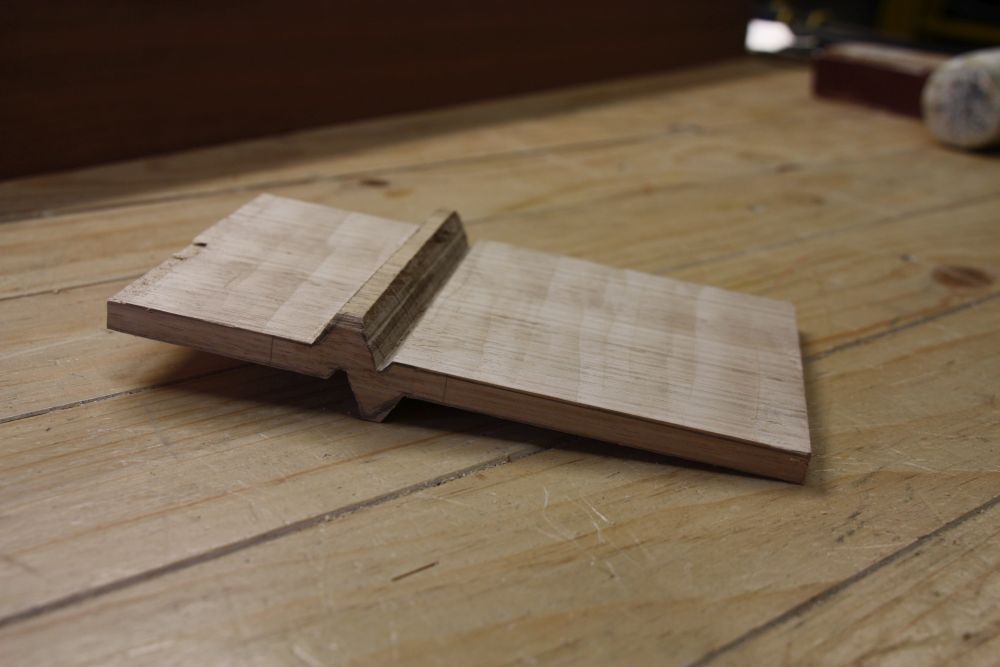
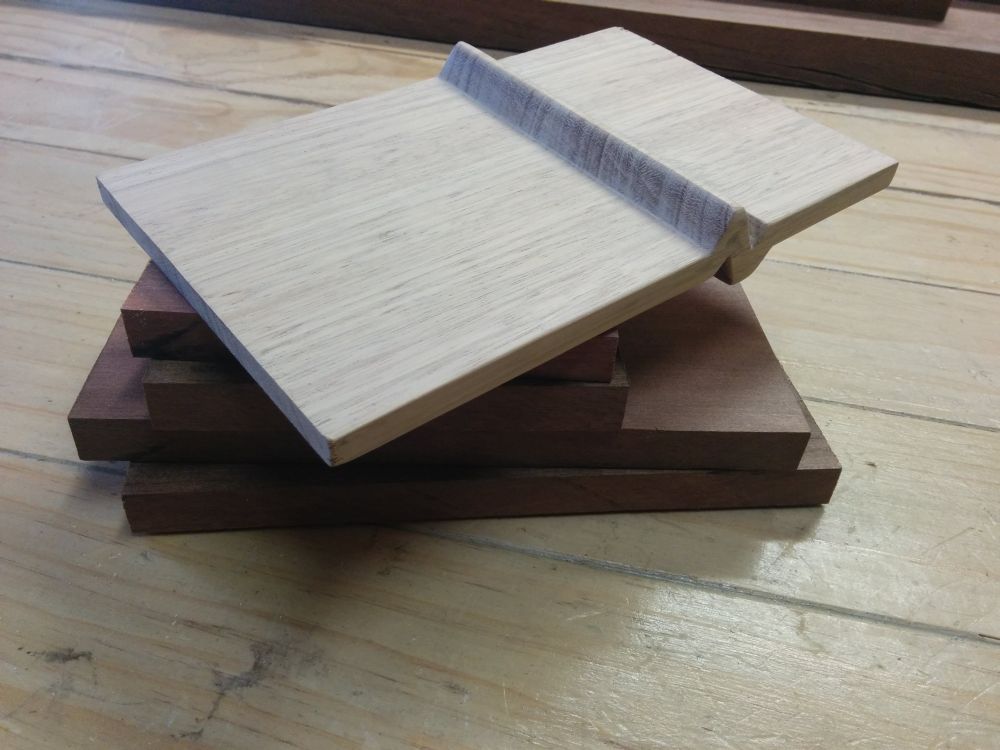
Then I re-sawed the Red Ironbark on the table saw and cleaned it up with a few passes through my thickness planer, and after a good amount of sanding I had my box sides and lid.

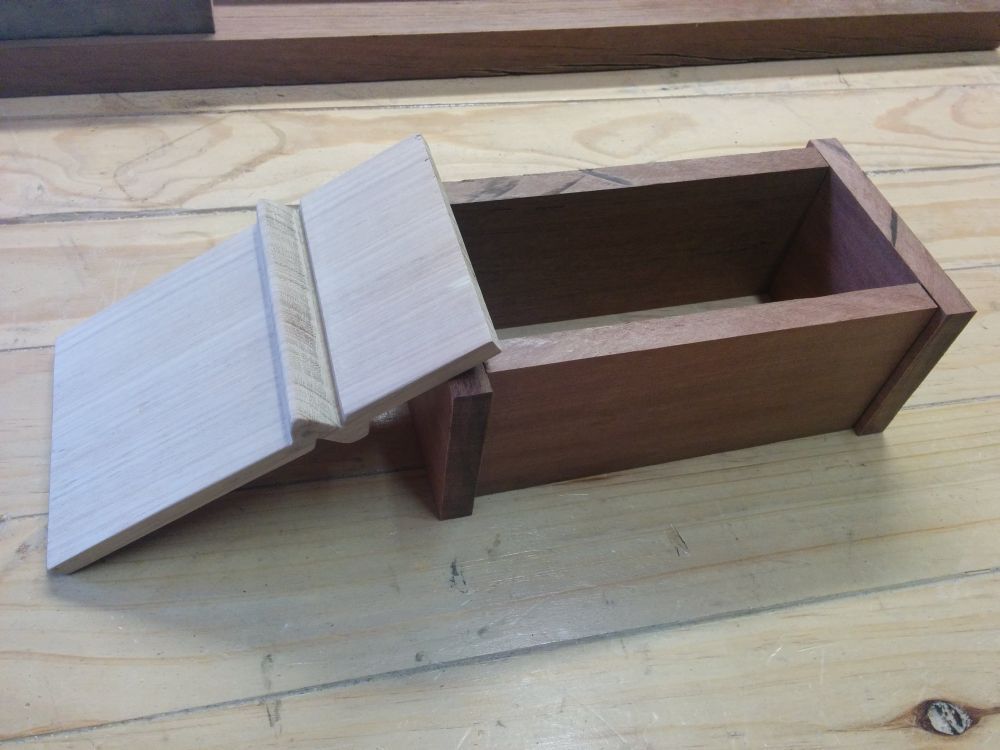
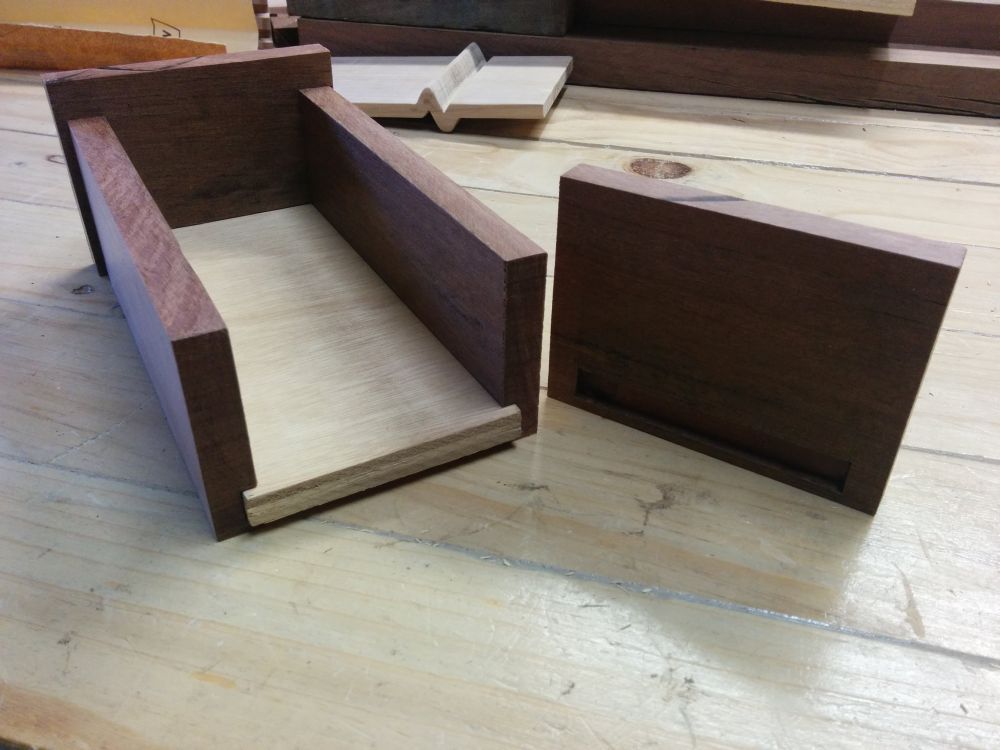
For the base of the box I used a piece of Poplar plywood. I cut dados in the Ironbark sides to accept the plywood base, making sure not to cut through the whole length of the sides or else the dado would be visible from outside the box.
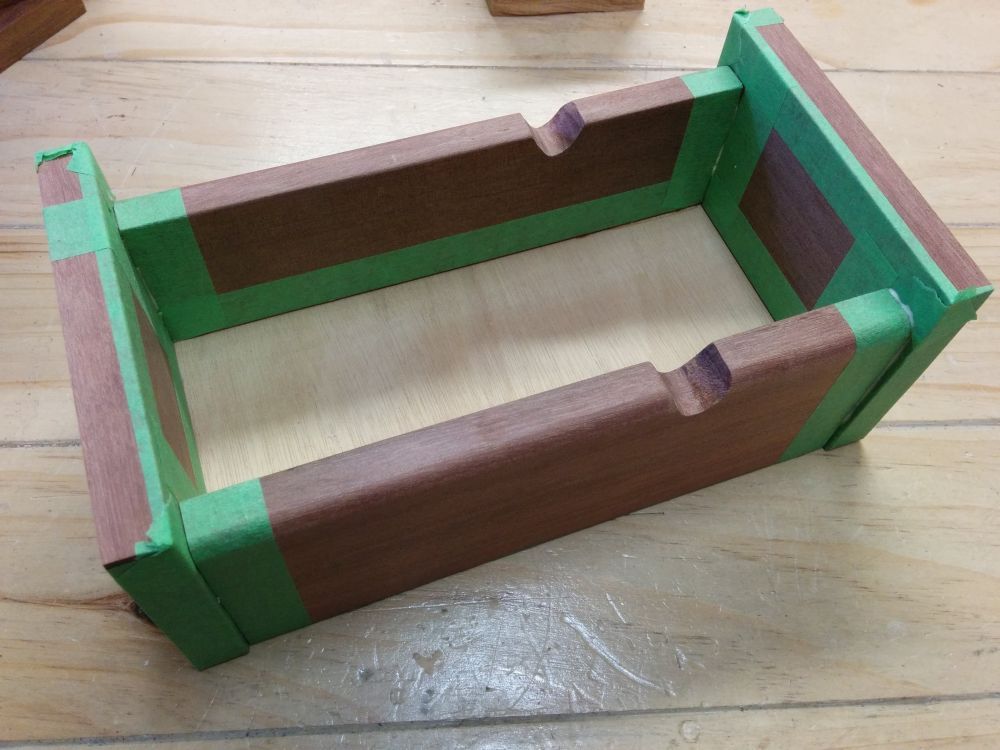
The next step was to glue up the sides and bottom of the box. I used green masking tape to prevent the glue squeeze-out from staining the wood.
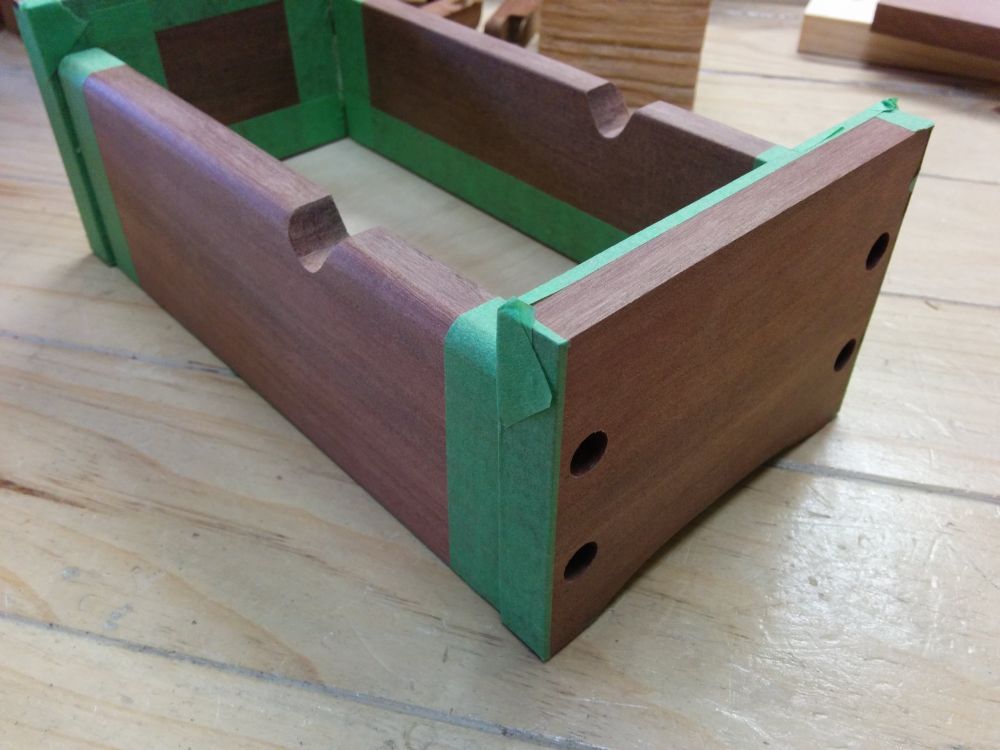
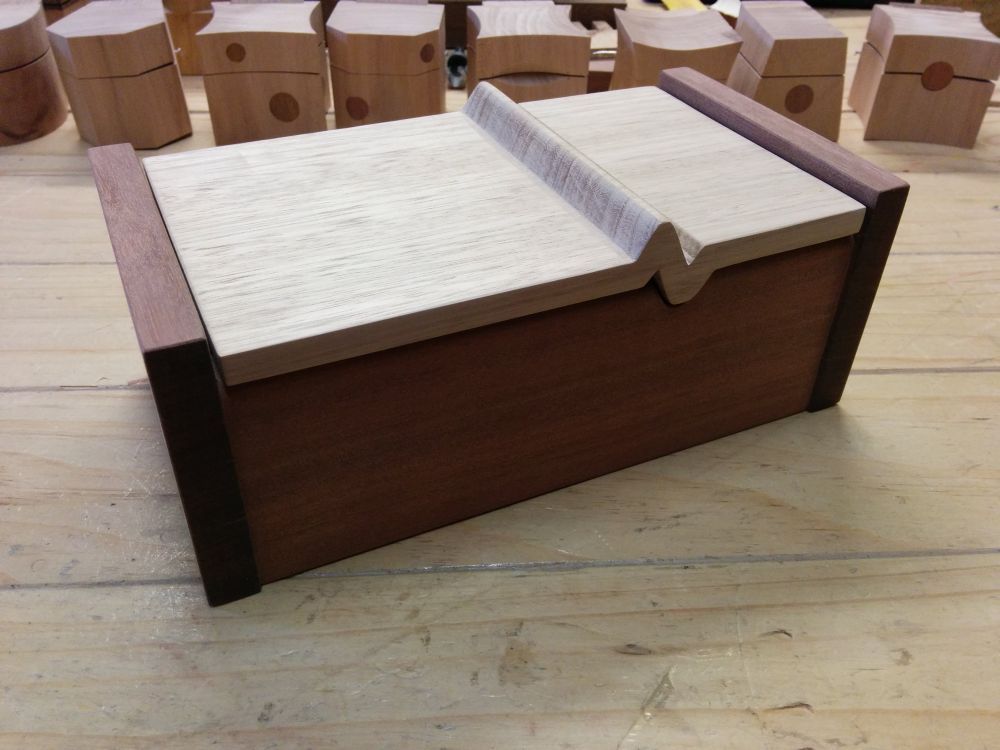
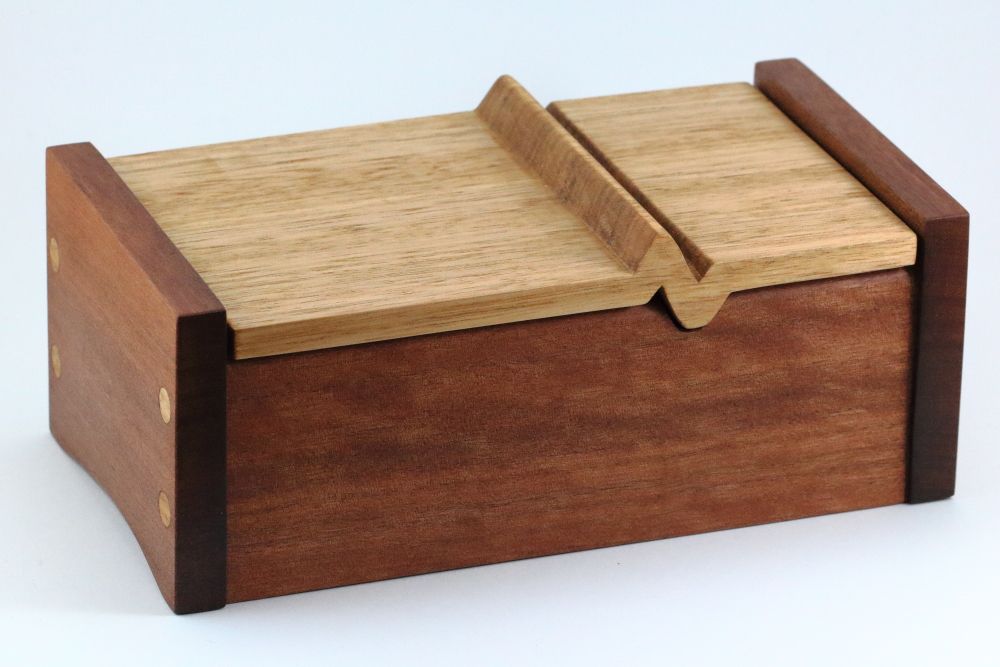
The box was then sanded thoroughly, and given a few coats of Danish oil for protection. Small rare earth magnets were used to secure the lid and self-adhesive rubber feet stuck to the bottom to finish it off.
The Second of the wooden Keepsake Boxes
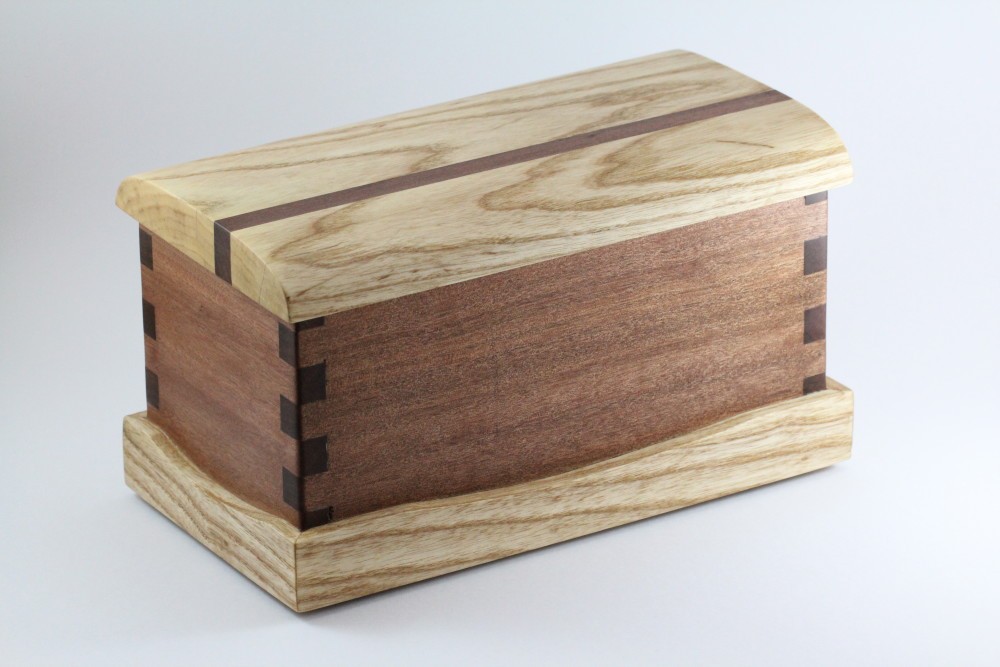
For the second box I opted for a design which incorporates finger joints (or box joints). I wanted to use my new Triton FJA300 Finger Joint jig to make these finger joints, so I set the jig up on my router table and made the joints in the pieces of Ironbark which form the box carcass. The lid for this box was made out of a beautiful piece of White Ash with a strip of Red Ironbark laminated in it.
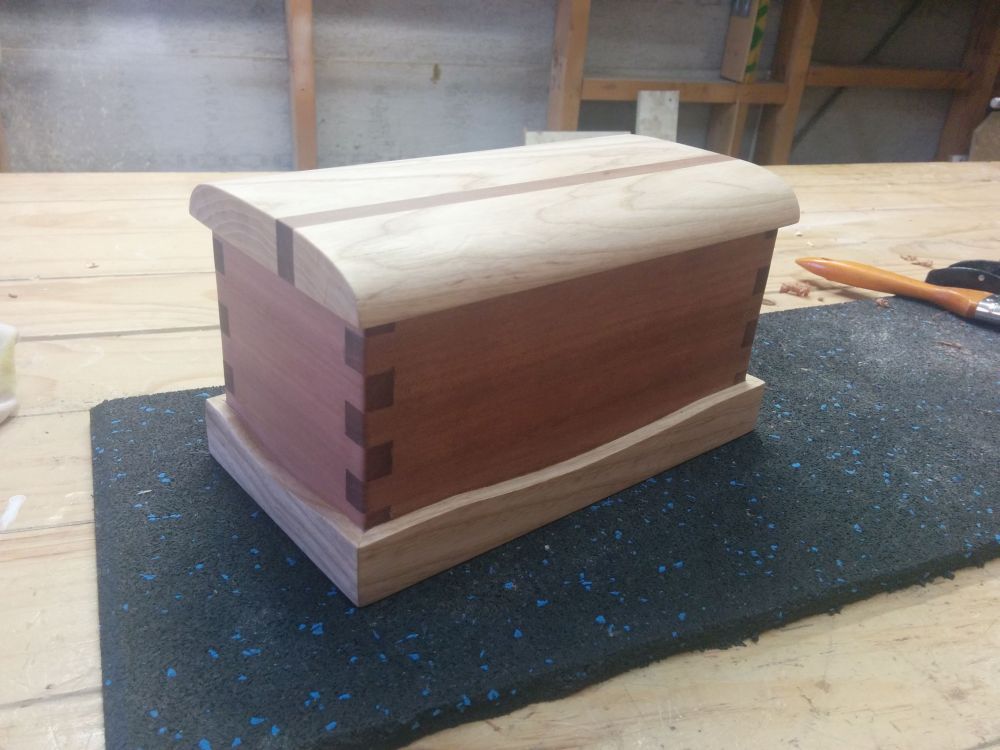
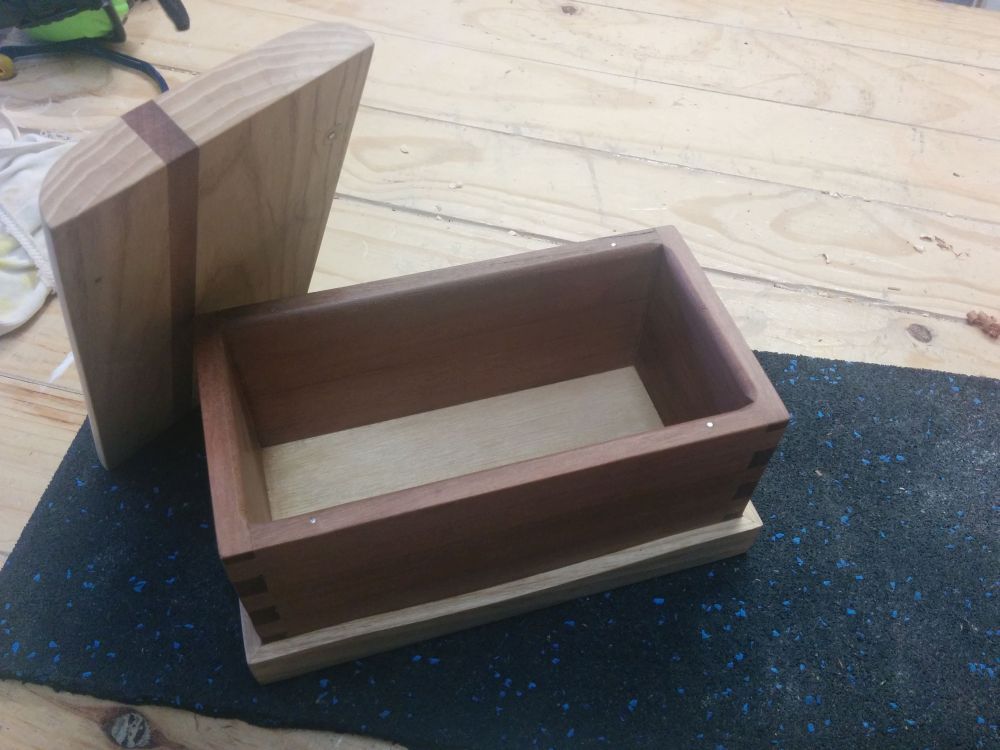
This box went together a little easier than the heartbeat box because the finger joints help square everything up and hold the sides together tightly. The lid was also easier to make since all that was required was a smooth curve which follows the wood grain. I made this curve with a hand plane and then sanded it smooth with 320 grit sandpaper. This box was also finished with a few coats of Danish oil for protection, magnets to secure the lid, and self-adhesive rubber feet to stop it from sliding around.
For more pictures of the finished jewellery box check out the photo gallery.


Nice work!
Thanks Andrew!
I love the boxs
Thanks Chris!